ND Filters and Polarizers: When and Why Sports Photographers Need Them

Sports photography demands adaptability. Outdoor lighting can shift in seconds—from glaring midday sun to overcast skies—and reflective surfaces like water, glass, or even polished playing fields can distort a perfect shot. That’s where ND (Neutral Density) filters and polarizing filters become invaluable. These two tools help photographers control light, manage reflections, and produce vivid, professional-quality images, even in difficult conditions.

In this in-depth guide, we’ll explore what ND filters and polarizers do, when to use them, and how they can elevate your sports photography, whether you’re shooting football, cycling, or track and field.

ND Filters and Polarizers: When and Why Sports Photographers Need Them

Understanding ND Filters and Polarizers

Before diving into techniques, it’s essential to understand how each type of filter works.

  • ND (Neutral Density) Filters: These filters reduce the amount of light entering the camera without affecting color balance. By limiting light, photographers can use slower shutter speeds or wider apertures in bright conditions—ideal for creating motion blur or controlling exposure during sunny events.
  • Polarizing Filters: These filters reduce glare and reflections from surfaces such as water, glass, or even metallic equipment. They also deepen sky colors and enhance contrast, giving outdoor sports shots a crisp, vivid quality.

Both filters serve different but complementary purposes. ND filters help manage brightness and motion, while polarizers enhance color and clarity.


When to Use ND Filters in Sports Photography

ND filters are best used in bright outdoor environments where too much light limits your exposure options. Here are key scenarios:

  1. Capturing Motion Blur: If you want to convey movement—like a sprinter in motion or a cyclist speeding past—use an ND filter to slow your shutter speed without overexposing the shot.
  2. Shooting in Harsh Sunlight: Bright afternoon games can easily cause overexposed highlights. ND filters tone down light, maintaining balanced exposure.
  3. Achieving Shallow Depth of Field: When you want to use a wide aperture (like f/2.8) in daylight for subject isolation, an ND filter helps prevent blown-out highlights.
  4. Filming Sports Videos: ND filters are essential for maintaining cinematic shutter speeds (usually 1/50s or 1/100s) in bright conditions.

When to Use Polarizing Filters

Polarizing filters are perfect for outdoor sports, where reflections and glare can ruin a great shot. Use them in these situations:

  1. Reducing Glare: Photographing water sports, tennis courts, or races with shiny surfaces often introduces unwanted reflections. Polarizers eliminate these distractions.
  2. Enhancing Skies and Colors: Polarizers make blue skies richer and greens more vibrant—great for outdoor stadiums, fields, or cycling routes.
  3. Improving Contrast: By cutting haze and reflections, polarizers create sharper, cleaner images with more natural color saturation.
  4. Managing Reflections on Equipment: Polarizers can reduce reflections on helmets, bicycles, or glossy uniforms, ensuring the focus stays on the athlete.

How to Use ND and Polarizing Filters Effectively

Using filters requires more than just attaching them to your lens. Here are best practices to ensure professional results:

  1. Stacking Filters Carefully: Avoid stacking multiple filters unless necessary. Doing so can cause vignetting, especially with wide-angle lenses.
  2. Check Exposure Frequently: ND filters reduce light—sometimes by several stops—so use your camera’s histogram or live view to ensure proper exposure.
  3. Rotate the Polarizer: Adjust the polarizing filter by rotating it until unwanted reflections disappear or desired contrast appears. Subtle adjustments can make a big difference.
  4. Keep Filters Clean: Dust, smudges, or fingerprints can ruin image quality. Use a microfiber cloth regularly during shoots.
  5. Use Quality Filters: Cheap filters can degrade sharpness and color. Invest in high-quality brands that maintain optical clarity.

Combining ND and Polarizing Filters

While it’s generally best to use one filter at a time, there are situations where combining both can be beneficial—such as photographing a bright outdoor cycling race where you need both reflection control and exposure balance. Use a slim, high-quality polarizer first, then add a variable ND filter if necessary. Always check for vignetting at the edges.


Post-Processing Tips for Filtered Photos

Filters give you a strong base image, but post-processing can elevate it further:

  • Fine-Tune Exposure: ND filters can slightly darken images; use exposure sliders to recover details in shadows.
  • Enhance Contrast and Color: Boost vibrance to emphasize the polarizer’s effect on skies and foliage.
  • Sharpen Selectively: Filters can slightly soften images; apply selective sharpening to restore crisp details.
  • Correct Color Casts: Some filters introduce mild tints—adjust white balance to keep tones natural.

Mistakes to Avoid

  • Using Polarizers Indoors: These filters reduce light and are ineffective without reflective surfaces or sky contrast.
  • Overusing ND Filters: Too dark an ND filter can make tracking fast-moving subjects difficult.
  • Forgetting to Re-Focus: After rotating a polarizer, always double-check focus, as contrast changes can affect autofocus performance.
  • Ignoring Light Direction: Polarizers work best when the light source (like the sun) is at a 90-degree angle to your subject.
source: Photography Life

Final Thoughts

ND filters and polarizers are subtle yet powerful tools that elevate your sports photography from ordinary to exceptional. They allow you to control challenging lighting conditions, manage reflections, and express motion creatively. Mastering their use can transform how you shoot outdoor sports—helping you capture cleaner, sharper, and more dynamic images every time.

Whether you’re freezing a soccer player mid-kick, blurring a cyclist’s background for speed, or enhancing the vibrant colors of a baseball game, these filters give you creative control that no camera setting alone can achieve. Equip yourself with the right filters, practice often, and watch your sports photography reach professional levels of quality and artistry.

The written content on this page was generated by ChatGPT.
How to Use Telephoto Lenses to Capture Close-Up Sports Action

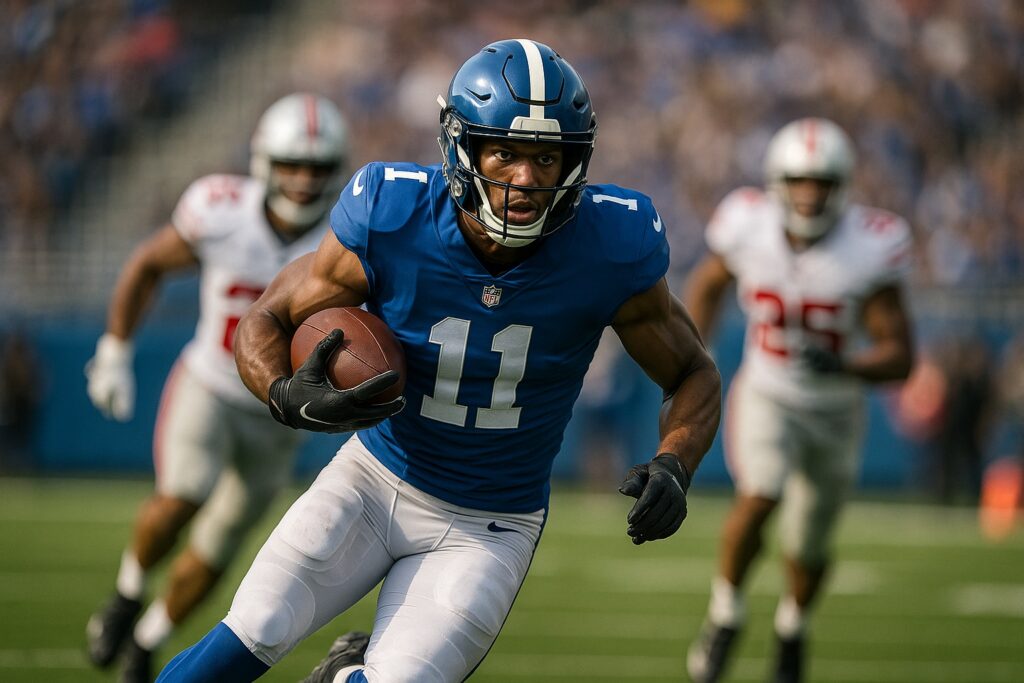
Few moments in photography are as thrilling as freezing an athlete in mid-stride or capturing the grit on a player’s face from across the field. Sports photography is about anticipation, timing, and precision—and a telephoto lens can be your most valuable ally in achieving all three. These lenses bring faraway subjects up close, giving your images the intensity and focus that turn ordinary sports shots into works of art. But mastering a telephoto lens isn’t as simple as zooming in; it requires a deeper understanding of optics, technique, and timing.

In this guide, we’ll explore how to use telephoto lenses to capture dynamic, close-up sports action. You’ll learn how to select the right lens, optimize your camera settings, stabilize your shots, and anticipate those fleeting moments that define athletic competition.

How to Use Telephoto Lenses to Capture Close-Up Sports Action

The Power of Distance: Why Telephoto Lenses Are Essential

At first glance, the advantage of a telephoto lens seems obvious—it lets you photograph distant subjects. But what makes it indispensable for sports photographers is more nuanced. A good telephoto lens doesn’t just magnify; it compresses perspective, pulls your subject closer to the background, and isolates the action beautifully. This compression adds drama and depth, transforming a crowded stadium scene into a focused, storytelling image.

When used correctly, telephoto lenses allow you to portray emotion, movement, and detail all in one frame. You can capture the determination in a sprinter’s eyes, the tension of a goalkeeper’s stance, or the triumph of a finish-line celebration—all while standing safely on the sidelines.


Choosing the Right Telephoto Lens

Not all telephoto lenses perform the same, and your choice depends heavily on the type of sport and shooting conditions. Understanding focal lengths is the first step to making a smart investment.

  • 70–200mm: A versatile workhorse for field and indoor sports such as basketball, volleyball, or soccer. The zoom range gives you flexibility to frame mid-range and tighter action without constantly changing lenses.
  • 300mm to 400mm: Ideal for outdoor events like baseball, tennis, and cycling. These focal lengths provide reach without sacrificing image sharpness or focus speed.
  • 500mm and Beyond: Best suited for large venues and motorsports. These lenses are powerful but often require a monopod or tripod for support due to their weight.

Zoom lenses offer convenience and adaptability, while prime telephoto lenses (fixed focal lengths) provide superior sharpness and faster apertures. Your choice will depend on your shooting style, access distance, and the lighting conditions of the sport.


Mastering Camera Settings for High-Speed Action

Shooting sports with a telephoto lens requires more than a steady hand—it demands precise camera settings to capture sharp, high-impact images. Here’s how to dial in your setup:

  • Shutter Speed: Fast shutter speeds are essential for freezing motion. Start at 1/1000s for most sports, but adjust according to movement. For creative blur that conveys motion, drop it to 1/250s or slower.
  • Aperture: A wide aperture (f/2.8 to f/4) allows more light into the lens and isolates your subject from the background, giving that professional, cinematic look.
  • ISO: Keep ISO low in bright daylight (100–400) and increase it in low light. Don’t hesitate to push ISO higher if it means maintaining a fast shutter speed.
  • Autofocus Mode: Use continuous autofocus (AF-C or AI Servo) to track subjects as they move unpredictably across the field.
  • Burst Mode: Continuous shooting ensures you don’t miss critical moments—especially in sports where expressions and body movements change in milliseconds.

Techniques for Sharp, Impactful Telephoto Shots

  1. Stabilization Matters: Telephoto lenses magnify not only the subject but also camera shake. A monopod offers a perfect balance between mobility and stability, especially during long events.
  2. Follow the Motion: Practice smooth panning to match the athlete’s movement. This helps retain clarity while maintaining a sense of speed.
  3. Anticipate the Play: Study the rhythm of the sport. Predict where the ball, runner, or player will be before the action happens. The best shots often come from being ready, not reacting.
  4. Use Focus Limiting: If your lens has a focus limiter, activate it to prevent the camera from hunting across unnecessary ranges.
  5. Compose Thoughtfully: Leave room in front of moving subjects to convey direction and purpose. A tight crop can be powerful, but balance it with storytelling context.

Perfecting Shots Through Post-Processing

Post-processing is where great photos become unforgettable. Even perfectly exposed telephoto shots benefit from fine-tuning.

  • Enhance Clarity and Detail: Boost micro-contrast and sharpness to emphasize sweat, fabric texture, and motion.
  • Adjust White Balance: Sports venues often mix natural and artificial lighting—correcting color temperature ensures accurate tones.
  • Crop Intelligently: Tighten your frame to draw focus to the athlete’s expression or moment of impact.
  • Reduce Noise: Long lenses in low light can introduce grain. Noise reduction tools in Lightroom or Photoshop can help retain quality without losing detail.

Mistakes to Watch Out For

Even experienced photographers make errors when using telephoto lenses. Avoid these pitfalls:

  • Over-Zooming: Filling the frame too tightly limits your ability to track motion or recompose quickly.
  • Shaky Hands: Even a small tremor can blur the image. Use lens stabilization or physical supports whenever possible.
  • Ignoring Backgrounds: A cluttered or bright background can pull attention away from the subject. Adjust your position or aperture to create clean, minimal backdrops.
  • Neglecting Light Direction: Backlighting can add drama, but too much can wash out the subject. Move around the field to find the best light angles.

Real-World Example: The Energy of a Cycling Race

Imagine standing at a bend during a cycling competition. You position your 300mm lens, pre-focus on the curve, and wait. As the riders lean into the turn, you pan smoothly, following the lead cyclist while maintaining a fast shutter speed. The result? A razor-sharp subject with just enough background blur to capture the rush of motion. That’s the art of telephoto sports photography—precision, patience, and instinct working together.

source: B&H Photo Video Pro Audio

Final Thoughts

Telephoto lenses are more than tools for magnification—they’re extensions of your vision. They allow you to capture the raw essence of sports: effort, motion, and triumph. With the right combination of gear, technique, and intuition, you can transform fleeting moments into timeless images.

Whether you’re documenting a championship game, a local marathon, or a fast-paced cycling race, a telephoto lens helps you bridge the gap between distance and intimacy. Every frame becomes a chance to tell the story of passion and perseverance—one click at a time.

The written content on this page was generated by ChatGPT.